Showing posts with label make it yourself. Show all posts

Tuesday, July 15, 2014

make it yourself: baked garlic croutons


I've mentioned in my CSA posts before that we eat salads on the regular. At least once a week we have salad night - and typically it's one of Mark's prep/cook nights. But last night he was otherwise occupied with 5 million errands, so I hopped in. I knew we needed more croutons and had him give me a quick phone tutorial on how he makes our homemade ones.

Making your own croutons is actually super easy. They were actually finished by the time I had all of the other vegetables prepped! Here's the basics of how Mark makes ours. (See the end of the post for an actual recipe.)

This week I used some leftover sourdough bread that Mark had made. When we have loaves of bread, we put the leftover slices we might not use in the freezer right away before they mold or get super hard. Sometimes we have enough for croutons right away, other times we stock pile until we have a few more slices.


Microwave the bread for a bit to make it easy to cube.


Cube it up and throw it on a baking sheet to toast for 10-15 minutes.


When the bread is toasted, toss it in melted butter, garlic powder and salt. (Though really you could use other seasonings if you were interested.)


Return to the cookie sheet and bake for another 15-20 minutes, stirring at 5 minute intervals. After you're done baking, let them cool and then chow down!


Croutons are super simple to make and help you waste less bread. We are typically a sourdough house, but you could make the croutons out of other types of bread, or mix and match. They also can save you money, since just a few slices of bread makes enough croutons for at least 6 servings (and I admittedly go heavy-handed on the croutons since they're so delicious).

Make it Yourself: Baked garlic croutons
Makes 4-6 servings

~6 slices of bread (can be frozen or just stale) 
4 Tbsp. butter, melted
Garlic powder and salt to taste


  • Preheat oven to 350 F.
  • If bread is frozen, microwave for 15 seconds to soften enough to cut easily.
  • Cube bread into desired pieces. Place on a foil-lined baking sheet.
  • Bake until bread is toasted, 10-15 minutes.
  • Remove and toss in a large mixing bowl with melted butter and garlic powder and salt to taste. (Go ahead and taste them - they might be a bit chewy at this stage, but you'll know if you got the seasoning right.)
  • Return to baking sheet and bake for another 15-20 minutes, stirring at 5 minute intervals until crunchy and golden brown.
  • Let them cool and eat them by the handful. I mean, put them on a salad, like a classy, civilized person.
Note: This is a recipe that isn't an exact science. You might like to use more or less butter depending on how much bread you have or what type it is. This is more about the method than the specifics.


Monday, February 3, 2014

make it yourself: morning glory muffins

I've been interested in getting back into baking more regularly. I used to bake constantly, but as I've tried to stay away from excess sugar, it's become harder to justify making cake after cupcake after cookie. So I've turned to our King Arthur Whole Grain Baking book for some healthier alternatives. 


This weekend I tried morning glory muffins - made from whole wheat flour and a melange of other healthy ingredients. More than I've ever tried to pack in a muffin before, certainly!


The dry ingredients are just whole wheat flour and some brown sugar, plus the usual leaveners and salt, and ginger and cinnamon for spice.


The most time consuming part of this - even more than the baking itself - was grating 2 cups worth of carrots and a cup of apple (I used braeburns from our CSA). The chickens were pretty happy with the carrot shavings and apple peels!


Added to the carrots and apples (plus some raisins which were soaking in hot water, but were gross looking from the murky water and thus not really picture-worthy), were walnuts, coconut and sunflower seeds.


Wet ingredients were canola oil, orange juice, vanilla and eggs. No butter, which helps keep the calories and fat down, too.

The batter was quite thick and chunky. It definitely wasn't an airy muffin, since it was hand mixed and less air was worked into the batter.


The cookbook said this made 12 muffins, but I'm thinking they meant the large muffins, because it made 24 standard size, coming in around 176 calories each, with a lot of fiber, protein and fruits and veggies. 


These are great breakfast muffins, because they are hearty enough to keep you full for longer than a typical sugar packed muffin would. And probably would make good snack muffins as well, since they aren't going to give you a sugar rush in the afternoon.


If you're interested in baking with flours other than regular refined all-purpose flour, definitely check out this book. Every recipe I've made in this cookbook has tasted good, and it helps you remember that whole wheat doesn't have to taste like cardboard! I plan on trying out some whole wheat honey biscuits next - they are calling me!


I wasn't paid or perked by King Arthur Flour to say good things about their cookbook. They have no idea who I am. And the link for the cookbook was for your convenience, not an Amazon affiliate link. Full disclosure.

Friday, August 23, 2013

Real Life CSA: week 12, produce

Back with the CSA after a week off, and we've got two new items as well as an explosion of tomatoes. 


Celery is a new crop for Kretschmann's this year, and this is our first taste. I'm seeing ants on a log in my future. That or part of a mirepoix. Both ends of the culinary classy spectrum, there.


The potatoes and thyme look so good next to each other, they'll probably end up that way in a dish.


I am never sad to see lettuce in our CSA. Their lettuce varieties are so flavorful, and in a house that eats salads every week, we always appreciate them. So much better than salad in a bag!


Loving all of the tomatoes we got this week. I have plans for fresh salsa this weekend, with all of our hot peppers from our own garden coming in. 


If you follow me on Instagram/Twitter (@nextgenhouse), you might have seen me declare refrigerator pickles a raging success. I opened the first jar last night and I was thrilled with the results - crispy and salty and full of dill flavor. The only pickles I like are homemade, so these are a huge treat for me.

 
Might have to try some bread and butter pickles next. And next year? I'm going to try full canning of pickles again, now that I think I've mastered the process (pickle crisper + correct cucumbers for pickling = yum).

Thursday, August 1, 2013

make it yourself: kale chips

When you first encounter kale in a CSA box or in the grocery store, you think - oh yes! Kale! That leafy green everyone says is the ultimate health food! But what do I do with it? A simple saute in olive oil doesn't do it for me - too bitter. I like it in stews or braises where it's cooked low and slow. But what about in the summer when it's too hot to make a thick stew? How about kale chips?

Sure. Last year I attempted kale chips and had disastrous results. They had a burnt and bitter taste, like they were the scrapings off someone's dirty grill. But this weekend, faced with two bunches of kale that was starting to wilt and zero inspiration for use of it in a meal, I decided to try again.

Enter Martha Stewart and the advice of the Everyday Food blog. I decided to try the Sriracha version, since we're big fans of the rooster sauce in this house. 

First you cut the stems out of the kale, rinse and spin the water off.


The only toppings are coarse salt, olive oil and a bit of Sriracha.


Mix it all up (and put it in a bright pink bowl).
 

Bake low and slow, watching the "chips" closely to make sure they don't burn. The recipe above calls for 300 degrees, but because our ovens tends to be on the hot side, I bumped it down to 275.


I stirred every five minutes or so. Once the smaller pieces and the edges were crisp, those pieces were removed and the rest went back in the oven to crisp up.


They ended up being delicious! I want to try some of the other flavor combinations suggested in that recipe with the next kale we get, now that I have a better method for baking them.

Before you store them, don't be afraid to let them "breathe." Mine turned slightly soggy after a night in an air-tight container for some reason. I think they needed more time to fully dry out than I gave them. But I'd definitely consider this a make your own snack food success!

Friday, July 5, 2013

make it yourself: soft pretzel rolls

I sort of have an obsession with soft pretzel rolls. Growing up my family would often eat soft pretzels as a snack, and having always been someone who liked salty foods more than sweet, pretzels are a favorite of mine. Whole Foods' Bakery carries soft pretzel rolls and I usually have at least one weekly. Also, they've become my favorite pre-race/run carb. So I got to thinking - I should really make these myself.

Having the day off of work on July 4, I decided to have a go at a recipe I found online. I have always used this recipe for soft pretzel bites, and thought I'd give a different one a try that was specifically for rolls, in case the ratios needed to be different for rolls.


The rolls are just bread flour, yeast, water, sugar and salt. The oil is used to line the bowl where the dough rises, and the baking soda is for the boiling bath that the rolls get before baking. 


First, get the water up to temp and add yeast. Pro tip. USE NEW YEAST. I used not quite expired but relatively old yeast. Why? Because I was too lazy to change out of my pajamas and leave the house. USE NEW YEAST.

Prepare the dry ingredients - bread flour, sugar and salt. 


Add dry ingredients to the stand mixer and mix using the dough hook attachment.


About 6 minutes later, you have this monstrosity. So far, so good, right?


Pull the dough into a ball and place in a greased bowl, lightly rolling the ball so the oil coats the dough.


Cover and let it sit for 30-35 minutes. Theoretically, it should double in size. If you use old yeast, it gets bigger, but doesn't impress anyone. (USE NEW YEAST.)


After your dough rises (or fails to rise, as the case may be), cut it into pieces and shape them into oblong rolls. Put them on a tray to rise (or fail to rise) again.


Meanwhile, get water boiling and add baking soda.


Drop the rolls in a few at a time and let them boil on both sides. Pull from the water and salt, putting them back on the tray to bake. At this point you should have 8 misshapen rolls on your tray. The yeast gave me one last gasp in the hot water before dying, so these plumped up to at least resemble rolls. If you are me, salt generously. 


Bake em for awhile, and they start to at least look like pretzels, lazy yeast and all.


Thankfully they taste okay and the inside texture is decent too and not like hockey pucks. So it seems that you CAN make pretzel rolls with lazy yeast, but I sure wouldn't if/when I make these again. They might even make interesting buns for burgers!


Wednesday, June 19, 2013

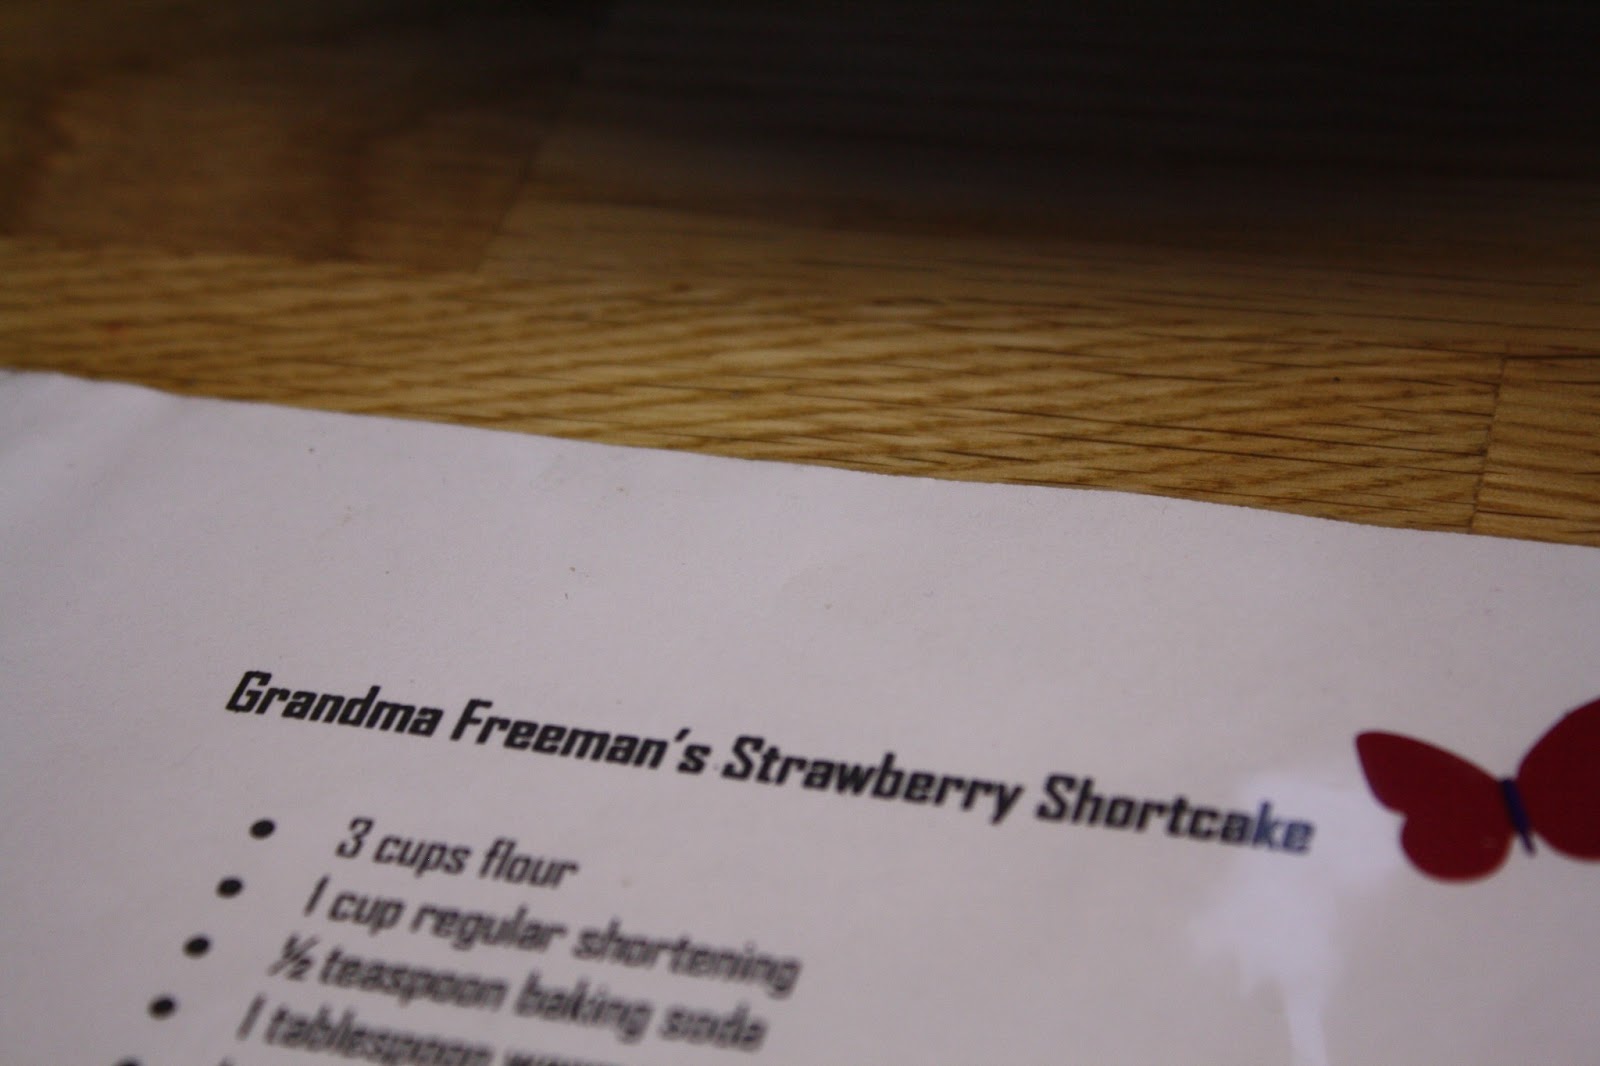
make it yourself: strawberry shortcake

It's berry season in western Pennsylvania, and I've made no secret of my abiding love for strawberries. My grandparents live in northwestern Pa. and they have grown berries every year since I can remember. Some years aren't so great - late frost took them all last year. But this year. Finally. Berries galore. Mark was helping my grandpa with some work around the house Saturday and came home with a quart of fresh picked berries, straight out of their garden. And you know what that means. It's shortcake time.

My grandma has also made this shortcake as long as I can remember, and it's everyone's favorite dessert. We even have a running joke in the family that you're only a true member if you eat your shortcake with just strawberries. The outsiders always want to add some sort of cream or cool whip monstrosity to it. 

This recipe is different from your standard strawberry shortcake because it bears no resemblance to a cake, angel food or otherwise. It's more like a cross between a biscuit and a shortbread. 

Start by using a pastry tool to cut some shortening into flour. (I usually don't like to bake with vegetable shortening, but I make an exception for shortcake.)


 After a bit, it will start to get clumpy, like this.


Make a leavening mixture.


To that, some buttermilk. 


Here comes the fun part. Just mash it all together and plop it on a tray. It's really that simple.


Prep your strawberries. Put them in a cringe-worthy bright pink bowl.


Mash them like potatoes and add any sugar. Go easy though - ripe summer berries are already quite sweet.


Once it's baked, cut it into chunks. Put it in a bowl like a normal person (left) or in a giant bowl of whipped cream like a crazy person (right). You can guess which one was mine.


Top with berries while the shortcake is hot. This is dinner and dessert wrapped up in one. I've made this for a lot of people over the years and not once has anyone had anything but praise for it. It's truly one of those magical desserts that pleases every crowd.


Email me at nextgenhouse at gmail dot com or send me a DM on Twitter if you'd like the recipe!


Wednesday, May 29, 2013

make it yourself: indoor smores and chocolate chipper champs


My grandma was the cookie queen. While everything she made was delicious, her cookies were a specialty. She’d make up care packages for me in college and even when she included date cookies, I scarfed them up. (And I don’t even really like dates!)

So when my best friend asked for one of my grandma’s desserts for her birthday, I knew I had to choose cookies. I picked two kinds: indoor smores and chocolate chipper champs. Mark made homemade vanilla ice cream and we had cookies and milkshakes to celebrate!

First up, indoor smores. This is a great no-bake recipe that you can make in about 10 minutes. I think all of us have at one point scrambled to find something easy to make and bring to a picnic in the summer or a potluck at church. This recipe is great for those situations!


I bake with organic chocolate chips if I can’t get fair trade. (For an explanation of why, see this post on chocolate.) I also used Three Sisters graham cereal, since it’s made with no artificial ingredients (and my friend is allergic to yellow #5). Whole Foods has their own brand of marshmallows in the bakery section, which are also artificial ingredient free. Add some corn syrup, vanilla and butter, and we’re off.

Melt the butter, corn syrup and chocolate in a saucepan and bring to a boil, constantly stirring. 


Add the vanilla off heat and then dump the mixture over the cereal in a large bowl. Mix and add marshmallows. (I reserved some on the side for a final topping.)


Press into a greased 13 x 9 and add the rest of the reserved marshmallows. Let it sit. 


Later, get out your propane crème brulee torch and go to town, toasting the top marshmallows. (Mark was the torch master in this photo.)


Indoor smores - all the deliciousness of smores without the campfire!

Next up, chocolate chipper champs. (What a great name for a cookie!)

The ingredients for these are the basic brown sugar cookie recipe, but with extra chocolate! I used the same chocolate chips as in the indoor smores, but added Sunspire chocolate candies. Sunspire makes fair trade chocolate and they don’t use artificial ingredients in their candies. Since my friend loves M&M’s, but can’t eat them because of the artificial colors in the shells, these are the next best thing!


Most cookie recipes have you cream the sugar and butter together first before adding eggs and vanilla, but grandma’s recipe says to just dump it all in the bowl, so that’s what I did. 


Forgive the gratuitous batter shots. I just love batter.
Add in the dry ingredients until you have a thick cookie batter, and add hearty amounts of chocolate chips and chocolate candies. (So much that your paddle on your mixer starts to groan.)


Scoop into drops on a cookie sheet. We use Silpat mats on all of our cookie sheets – a fantastic investment that I highly recommend if you do a lot of baking. Easy clean-up and the cookies come off the mat seamlessly.


Grandma’s recipe notes that after dropping the dough on the sheet, you take two candies and push them into the top. No idea why, but if it was good for her, it’s good for me.


About 11 minutes later, you have chocolate filled ooey gooey candy cookies. Or chocolate chipper champs, as grandma called them.

(If you’re interested in the recipes for these, let me know. I’m happy to share – grandma always did!)