Thursday, June 12, 2014

Real Life CSA: week 9

Awash in greens this week - even the salsa is green! 


We had a big storm yesterday and the evening was full of activity and errands, so forgive the fact that everything's in bags in this photo. You get the basic idea. 

Happy to have the tomatillo salsa again, since we actually just finished another jar of it recently. I'm thinking of doing some kind of pickle with the watermelon radish, whether it's a salad on its own or a topping for something else. Radishes are not disliked at Next Gen House - but they're not really frequent flyers, so I have to stop and think about how to use them when we get them.


Green onions and a few kinds of lettuce, which we happily eat up every week in salads. During transport, I broke a hole in the bag of bibb lettuce, which meant muddy water on the kitchen floor - thus the Ziploc bag came to the rescue. 

Collard greens will also be a fun side to make this week. I love greens - chard and spinach are my favorites - but collards are good too. (I prefer them to kale, hands down. Does that make me a bad foodie?) Perhaps some type of soul food preparation is in order this weekend.


Happy to see more beans from Weatherbury. Honestly I didn't think I'd ever seen a turtle bean before, so I opened the bag and found these little guys. Might need to make some crock pot refried beans for the freezer this weekend. Either that or we're going to need to build a bigger pantry!

Don't forget to be checking out your local farmers markets, especially if you live in western PA. It's berry time and you cannot beat local strawberries this time of year!

Wednesday, June 11, 2014

homebrew kombucha: flavoring and bottling

I am well on my way to fulfilling one of my goals for 2014: to homebrew kombucha. I truly thought this would be one of the hardest goals for me to reach, since I had so many hesitations about the process, but it turns out that it's been so incredibly simple, I'm shocked.

First, I made a SCOBY. After the SCOBY was ready, it was time for the first batch. 9 days after I started its ferment, it was ready - exactly within the 7-10 day time frame suggested by this recipe that I've been using. I hesitantly sipped a bit of it this evening to test, and was shocked that it was not just fine, but delicious. Had it been colder, I would have probably had a big glass right there.

But now comes the fun part - the flavoring and bottling. Mark's favorite kombucha flavor is mango, and I like the berry/cherry type, so we started with mango and cherry juice as flavorings. There are many different ways you can flavor kombucha, or just drink it plain, but we are both fruit kombucha fans. I wanted to use 100% juice to help keep the flavoring pure.


First, I removed the SCOBYs from the two jars of kombucha I made. A new circular one had formed in addition to the starter SCOBY I used, which means I now have 4 SCOBYs (which will come in handy a bit later on).


I decided that for my next batch I would make a double, so I kept all 4 SCOBYs aside, and also reserved 4 cups of the kombucha as a starter for my next batch. 

While I was doing this, I had the tea steeping for the second batch. I made a double, which is all the more I can make at one time anyway due to the size of my stock pot. So I'll have enough for about 12 bottles of kombucha at a time going forward, which is how many bottles I have anyway.

Next, I pulled out my EZ top glass bottles (after watching a video tutorial about 6 times learning how to get the dumb caps on!). I filled the bottle with a bit of juice (guestimating about 10-20% of the total volume of the bottle being juice). 


Then I added kombucha, leaving a decent amount of headspace, just like in canning. You leave the space because the kombucha will keep fermenting with the addition of the sugary juice (called a second fermentation) and it will be effervescent. You don't want to blow the lid! 

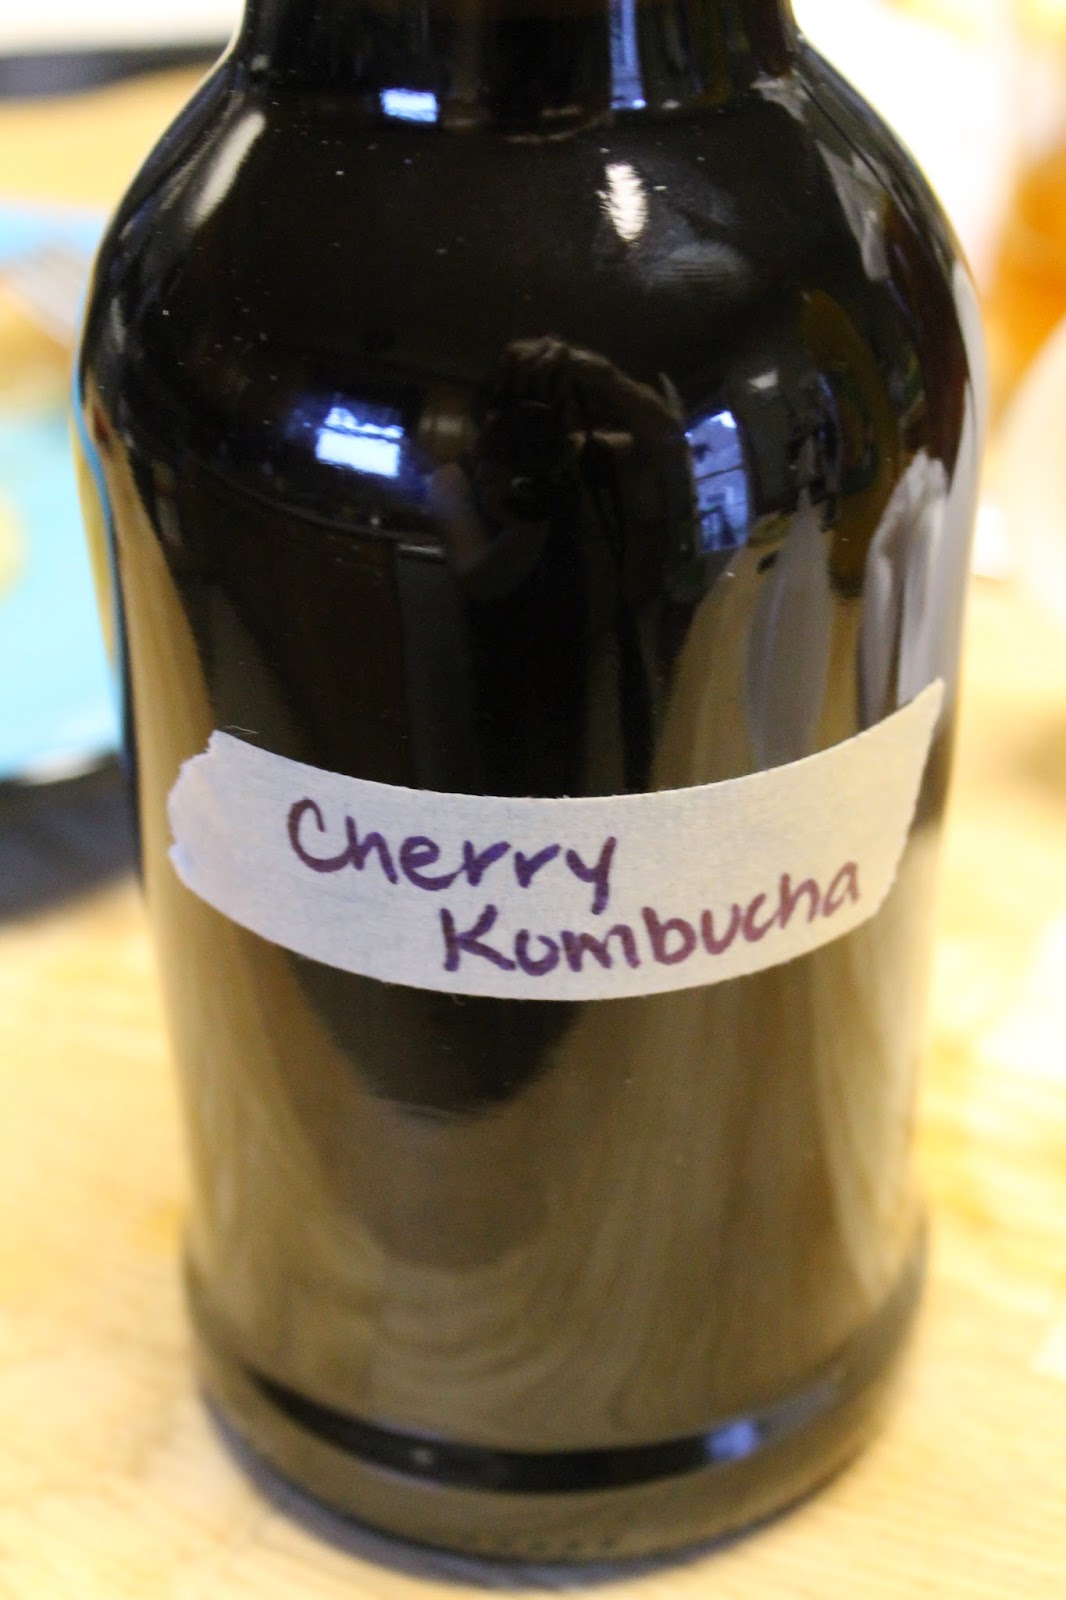
I popped the cap on with its tight seal and labeled them simply with trusty masking tape.


The bottles (3 cherry and 3 mango) are now sitting for their second ferment for about 3 days in the same spot the kombucha originally was (room temp, out of direct sunlight). So hopefully by the end of this week, I'll be enjoying a cold cherry kombucha on my deck!


Monday, June 9, 2014

my backyard oasis

When someone says "backyard oasis", you probably think they mean a yard you would find on HGTV - some fancy landscaped place with some kind of fountain and lush gardens. Well, this is mine.


Our deck has never been really used since we moved into this house, on account of the fact that the previous owners didn't take care of the wood, and so it's kind of a mess of splinters and shards. So we've ignored it in favor of the cement patio, where we have a table and chairs, and do most of our outdoor entertaining. 

But this year I was wanting to use that space more, because I wanted to use some of it to house my herb pots, and also because I wanted a space to sit outside that was comfortable and that the chickens didn't have access to, so I could be in peace. 

We moved the grill out of the way and off to the first corner, in an easily accessible spot that doesn't block the rest of the deck. Put a pair of flip flops by the back door so my feet don't get splinters. Bought two plastic Adirondack chairs at Lowe's. Added these deck boxes - ones we previously had with the brackets moved to accommodate their size. 


I also decided to try hanging baskets again. I tried them two years ago and couldn't keep them alive, but I'm giving it a shot again.


Mark also bought me a lily (my favorite flower) with my favorite colors (the colors of the sun - red, yellow and orange).


Now that I have colorful flowers, fragrant herbs and comfy chairs, I just add my coffee, a book and myself and it's my backyard oasis. 


Thursday, June 5, 2014

Real Life CSA: week 8

This week a new pantry item, and some of my favorite colors of spring.


We are still loving the variety of foods we get with Penn's Corner. Even the items we get regularly don't seem like overkill, and we like stocking up on staples like the maple syrup, even if we don't use it every day. 


Pretty excited about the apple butter - a Penn's Corner value added item that we haven't had yet. I'm only slightly nervous about it because one of the ingredients is allspice, and I usually shy away from anything seasoned with allspice because of my nightmare dental surgery/cloves experience that has permanently given me a gag reflex for that taste. But I'm brave when it comes to food, and we've so much enjoyed all of their products so far that I'm going to give it a whirl. At least Mark will enjoy it!

Tonight Mark is roasting a chicken with rhubarb for dinner, which is a new recipe. Follow me on Instagram to see how it turns out. I think we'll have enough rhubarb that I should probably bake something else with it. Speaking of rhubarb, the Pittsburgh Canning Exchange is hosting an event called the Rhubarb Social at Marty's Market in the Strip on June 14, with Marisa McClellan, who writes the Food in Jars blog and has a new canning cookbook out. We're going, and you should too! More details here.


Lettuce is our weekly salad base, and this red butterhead lettuce is particularly lovely. A friend asked recently how we store our lettuce, especially when you're overcome with salad greens in a CSA. We combine the pre-cut lettuce and the heads of lettuce that we cut up and store it in ziploc bags in the fridge with a dry paper towel in the bag to absorb the moisture. It actually keeps the lettuce crisp really well and we've had success making the lettuce last longer that way.

Not sure what we'll use the dill for this week. I'm thinking maybe a roasted potato or roasted carrot side dish, since we don't need the fresh dill to pickle anything yet.


Last but not least is my favorite item this time - swiss chard. I adore chard for its rich flavor, especially prepared the way Mark does it in garlic and broth. But look at the vibrant color of these stems. I think we get so used to seeing green in the garden that we forget about the rainbow of colors represented. Between this lovely chard and the rhubarb, plus the lettuces, it's pink and purple week!

How have you been using your CSA items?

Wednesday, June 4, 2014

starting seeds: abject failure and plan b

Welp. Remember the seedlings we so lovingly started and then transplanted? Yeah, those ones that lived under Mark's elaborate grow light complex that probably made our neighbors think we were growing pot for months? They're gone. Dead. All of them.

It's really hard to admit when a project that you think you have a handle on ends up as an abject failure. But we brought them outside too soon, and did not bring them in as often as we should have, so the cold got them first. And then the series of hail storms and torrential rains finished them off. Really I can't even share a photo of them because it's just too sad after all the hard work and love we put into them.

Right now I feel adamantly against trying to grow from seed next year, after the time and money we spent this season which was wasted. But the desire to try, try again is strong in me, so I'm sure come late winter next year you'll see me posting about which seeds we're starting. For now, we have to turn to Plan B. 

Thankfully we still had time to order healthy seedlings from Penn's Corner, who supplied them from several of their member farms as well as Grow Pittsburgh. After prepping the beds last weekend, Mark planted the tomatoes and peppers yesterday and I potted the herbs.


This bed has pepper plants, as well as extra room where we're going to try a couple of our direct-seed items. Perhaps we'll grow something from seed after all this year.


We rotated tomatoes out of the bed where we had them last year (which has yet to be filled). This year they have plenty of room in this "pen" garden. 


We also collect eggshells during the garden season, dry them out and "give" them to the tomatoes. It's worked well for us in the past. 


We also have a berry bush growing, which was rather unexpected, since we thought it wasn't going to make it, after a shipping problem. Seems like it's holding on so far.


So that's the story of how we lost all of our seedlings, but still ended up with a planted (or mostly planted) garden. Now we just need to finish the last bed, fill up the existing ones and get the flowers planted, and the backyard will be complete. One step (and one failure!) at a time!

Tuesday, June 3, 2014

around Next Gen House, lately

Pittsburgh had a beautiful, sunny weekend - and we took major advantage of it, catching up on a lot of outdoor work that had fallen to the wayside. We also were blessed to have my parents lend their hands with much of the work. I'll be showing off our handiwork in more detail once we finish off a few of the rough edges this week, but we managed to get a huge list of work done. (Including trimming back this bleeding heart plant that was competing with the rhododendron to eat Carnegie.)

I even started to create a small backyard oasis by trying to regain the use of our deck. The rattletrap grill got moved to make way for a couple of plastic Adirondack chairs, soon to be joined by a small table. Mark took the time to move brackets placed by the previous owners of the house to fit our own deck boxes, soon to be filled with flowers.

Those small things combined with large projects like repairing a retaining wall and prepping raised beds made this weekend feel like our most productive in a very long time. Ironically, many of the tasks we completed are ones that people look to as markers of a "more simple life." Gardening and DIY projects are actually anything but simple (wait until I tell you about the seedlings). 

It was good for me to have the time this weekend to be out in the sun, shoveling dirt, hauling stones, filling pots and digging holes. It was also nice to have time to get my kombucha started and get the house clean. Sunday night was the first time I've gone to bed in awhile feeling like I had pretty much checked off all my to dos for the weekend. 

I find it frustrating sometimes to see all the amazing homesteading things that other people are doing (and highlighting on their amazingly styled and organized blogs), wanting to have time to do every project that crosses my screen. These kind of tasks bring me a great amount of joy - creating things with my hands and doing things for myself. But the reality is that many of those urban homesteaders have alternate sources of income that don't require them to work full time, or have made their blog a business, so their actual job is to homestead. They're actually home for the majority of their waking hours. 

I work 45 hours a week and I spend at least an hour a day commuting, often two. I take krav maga classes and run 3 days a week. I cook dinner and do laundry and try to keep a house clean. So that whole idea that I can "have it all"? That I can tackle every interesting project I encounter and make my own everything and grow all the possible things to grow? Not going to happen. 

Tonight after work, I managed to finish potting herbs (more on that later). I did it while standing outside in my workout clothes after krav class, listening to an audiobook on my phone. As my pots filled up and the sun was setting, I looked around at the gardens and at the chickens running around and the soon to be finished little deck oasis and was grateful for how much I am able to do - really how much Mark and I are able to do together as partners - and didn't lament the things we can't. 

Monday, June 2, 2014

homebrew kombucha: making the first batch

One of my goals for 2014 was to homebrew kombucha. Almost exactly a month ago, I started by growing a SCOBY. The SCOBY has been ready for a little bit, but I only had time to start the kombucha this weekend. I'm using this recipe for the base, since it's as simple as it comes.

You start by boiling some water. Easy peasy.


Once it comes to a boil, you add a cup of sugar.


Once the sugar dissolves, add the tea bags and let it steep for a long time - until it cools off on its own.

   
Fast forward a couple of hours (I baked 96 mini blueberry cupcakes while this was cooling!) and you've got sweet tea. Squeeze the tea bags and remove.

Here we've got the sweet tea, a brewing container, some starter kombucha, as well as my SCOBY, floating on the top of the jar. I've read that you can use that liquid as the starter instead of the original kombucha, but I don't like to experiment and divert from recipes when I first make them. Just my personality.


 Add all 16 ounces of the original kombucha to the starter tea. You do this so that the acidity of the tea stays high enough that the bad bacteria don't grow. You only want the good ones! Once this first batch is done, I can save out 16 ounces of that batch for the next one I make. So you might very well be looking at the last bottle of commercial kombucha I'll be buying!


I then transferred the tea mix to the brewing container. I had chosen this container after a lecture I heard at Mother Earth News Fair about good containers for started kombucha. Since the spout on this container doesn't have any metal, it would be ideal for brewing and then transitioning to bottling.


Then it's time to transition the SCOBY over. Man was this thing weird. I've seen pictures of them, but never touched one before. And it was seriously a blob. But I was pleased to see that it was healthy with no problem areas - only just one thin spot.


Ironically, once I put the tea mix in the beverage container, I had to step away to attend to something, so it sat on the counter for a bit before I could put the SCOBY in. During which time the container's seal proceeded to leak. Just a tiny bit - not enough that you'd notice at a party if you had punch in the container. But enough that I knew I couldn't leave the container like that to brew for a week, or I'd lose it all.

Plan B was to split the SCOBY in two and use half gallon mason jars to brew. Cutting the SCOBY was ridiculously hard though, since it was like thick tire rubber. Definitely an experience. I covered them both with cheesecloth held in place by a rubber band, like the jar on the right, and set them in the same place where I grew the SCOBY, since it seemed to have the right temp and light to grow a good SCOBY in the first place.


So now I sit and wait for 7-10 days while these ferment. Then it will be on to the next step - bottling, flavoring and carbonating! Stay tuned!